What This Post is
This post will show you how to correctly and securely (using SSL) set up your web app hosted on Google App Engine (written in Python) using Firebase Authentication and a custom domain (as opposed to project-id.firebaseapp.com). Correctly is highlighted because I spent days trying to set this up with no luck. Several errors message I was getting was:
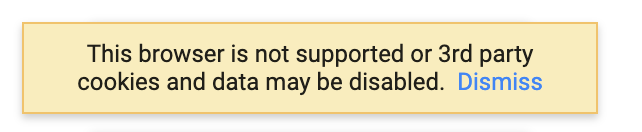
- This browser is not supported or 3rd party cookies and data may be disabled (on Chrome)
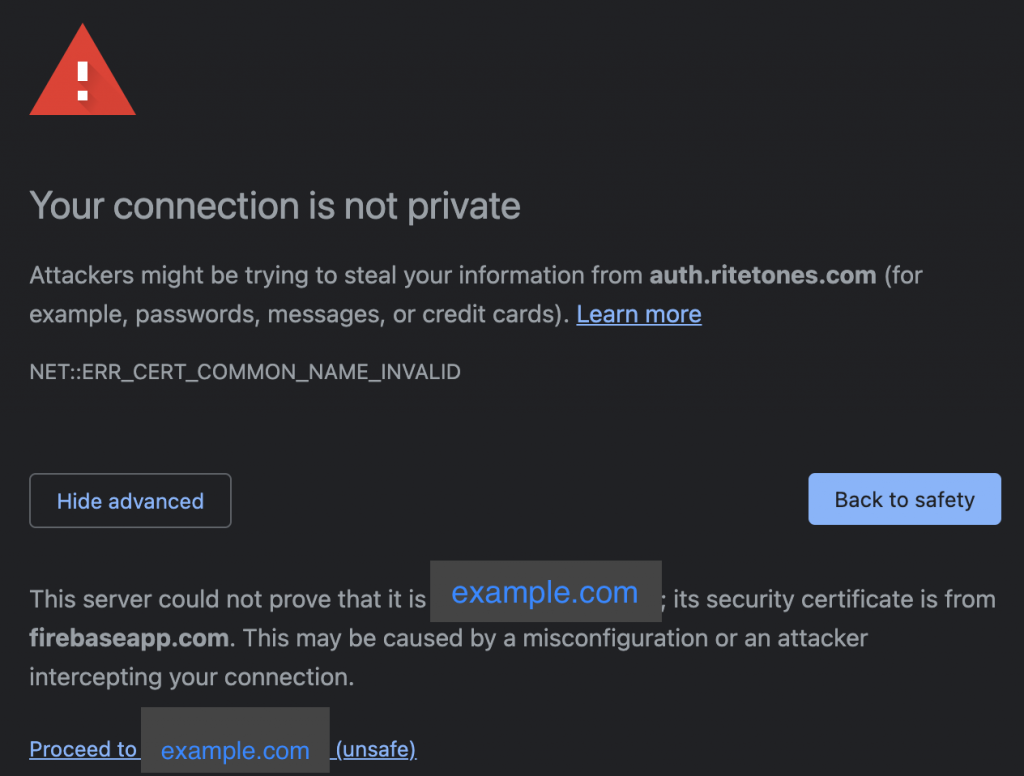
- Invalid SSL. I have a valid SSL setup for my domain, but when users are trying to login, they are getting an invalid SSL saying that my domain’s certificate is not issued by firebaseapp.com. Basically the URL on the browser is your custom domain (e.g. example.com), but the authentication is happening against firebaseapp.com. Hence the warning.
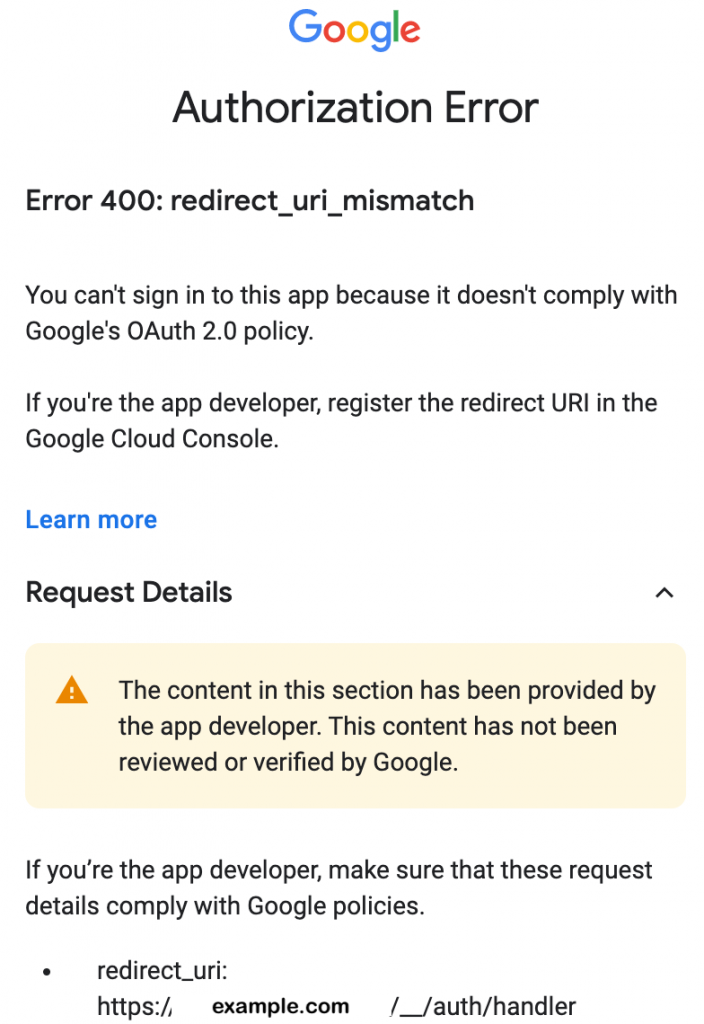
- Authorization and Redirect error
What This Post is NOT
This post is NOT a tutorial on how setup each environment separately. This post assume you have the following setup successfully, but you are experiencing one (or more) error mentioned above.
- Firebase authentication
- Your own domain (e.g. example.com)
- Access to add your own resource records (e.g. CNAME, AAAA, MX, etc) from your domain provider
- Custom domain for your web app on Google AppEngine (e.g. https://example.com as opposed to https://project-id.ue.r.appspot.com/)
- SSL either using Google Managed SSL, purchased separately, or issued by Let’s Encrypt, an open-source Certificate Authority.
Each corresponding link above will guide you to setup each environment.
Tips for Faster Debugging
The setup shown on this post requires readers to add domain resource records (e.g. CNAME, AAAA, MX, etc) from a domain provider. Although a DNS record eventually propagate to other DNS providers, this process usually takes time (up to 72 hours). For debugging purpose, it’s a good idea to change the DNS server on the computer you are using to debug to the DNS server provided by your domain provider. This way you don’t need to wait too long.
Wiring Everything up
- Setup Custom Domain on App Engine
Follow the instruction listed on Google’s documentation on how to accomplish this. You can also setup www subdomain (e.g. www.example.com and example.com will lead to the same landing page) if you choose to do so. - Create Domain Resource Records
At the end of the Step 1 above, Google will prompt you to add domain resource records. If you purchase your domain from Google Domain, you can follow the instruction here. If you purchase your domain somewhere else, consult with your domain’s registrar on how to add resource records for the domain you purchase. Example of domain resource records that needs to be added are as follow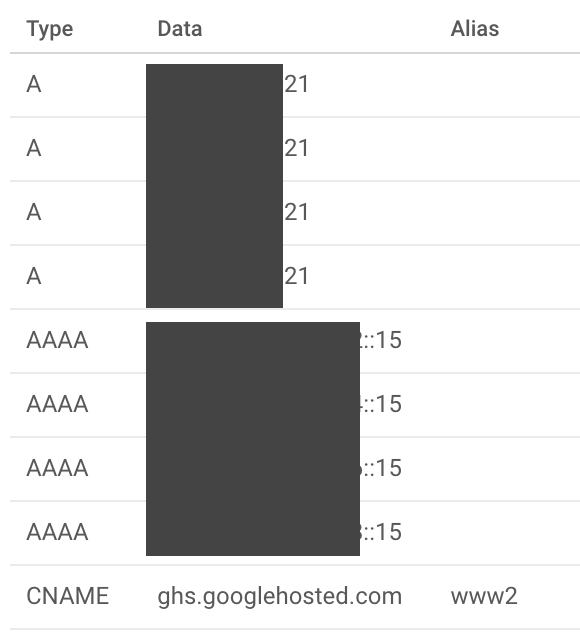
- Create a Custom Domain using Firebase Hosting
This is the crucial part I was missing. When this step wasn’t done or or done incorrectly, it causes clients’ browser to think that Firebase authentication is not coming from your custom domain, which results in 3rd party cookie warning shown above.
From the Firebase web console, go to the hosting section, and add a custom domain. You might need to click through all the tutorial steps, but you don’t have to actually do the setup process laid out in the tutorial.
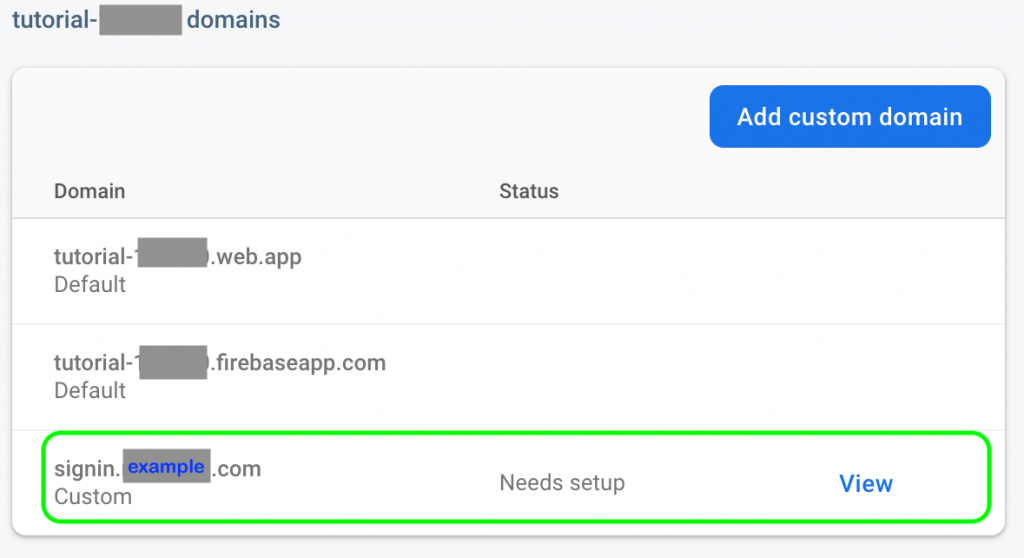
Adding a Custom Domain to Firebase Hosting
Do NOT use your second level domain (e.g. example.com). Instead, use a subdomain so that the clients’ browsers see a single domain for the redirect login. For example, use signin.example.com when adding a custom domain to be hosted by Firebase in this step. This way the browser will see one domain both when a user lands on the main page (e.g. example.com), and will again see the same domain (i.e. signin.example.com) when they are prompted to login. Without this setup, when users visit a landing page (e.g. example.com) and attempt a login, the login will be redirected to firebaseapp.com and cookies will also be set by firebaseapp.com.
Once this step is done, you will be prompted to add an A record in your domain. Go ahead and do so. It might take some time for the domain to propagate through. Once the setup is done, the custom domain will look like the following, indicating that the custom domain is connected. Make sure to wait until the status is changed to “Connected” before proceeding to Step 4..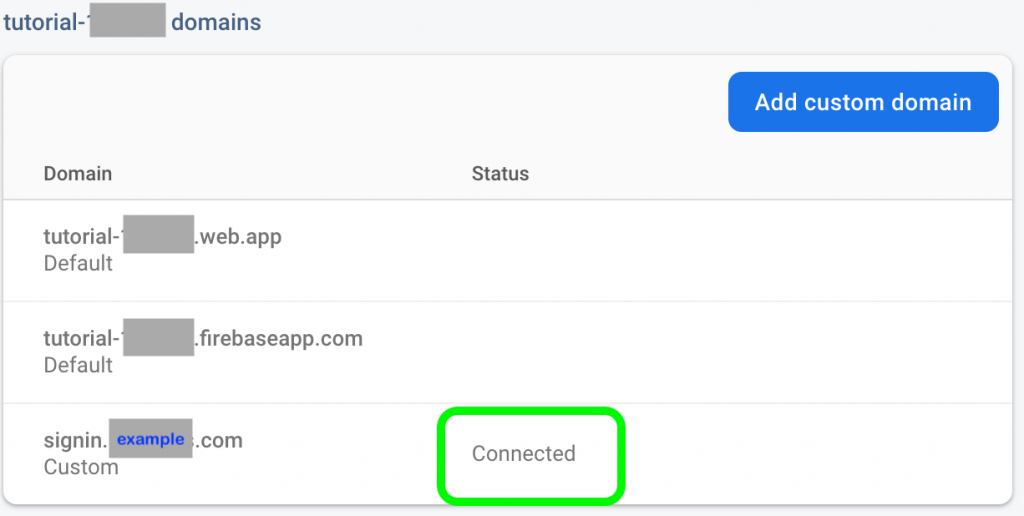
Connected Custom Domain - Add an Authorized redirect URIs on Google API Console
When this step isn’t done (properly), Authorization and Redirect error pictured above will appear when users attempt to sign-in. Go to Google API Console for your project, go to Credentials section and edit the OAuth 2.0 Client IDs as pictured below.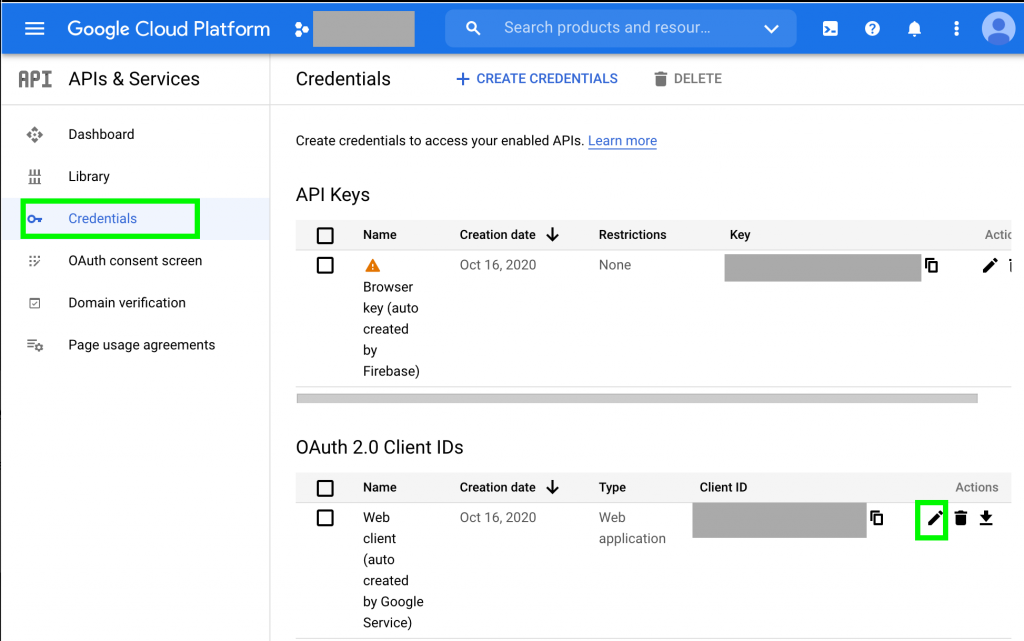
Editing OAuth 2.0 Client IDs
Go to the Authorized URIs Redirect session, add the custom sub-domain created in Step 3. above and suffix it with /__/auth/handler. For example, if your domain is example.com, in Step 3. above you would create a sub-domain called signin.example.com and in this step, the URI you would add is https://signin.example.com/__/auth/handler.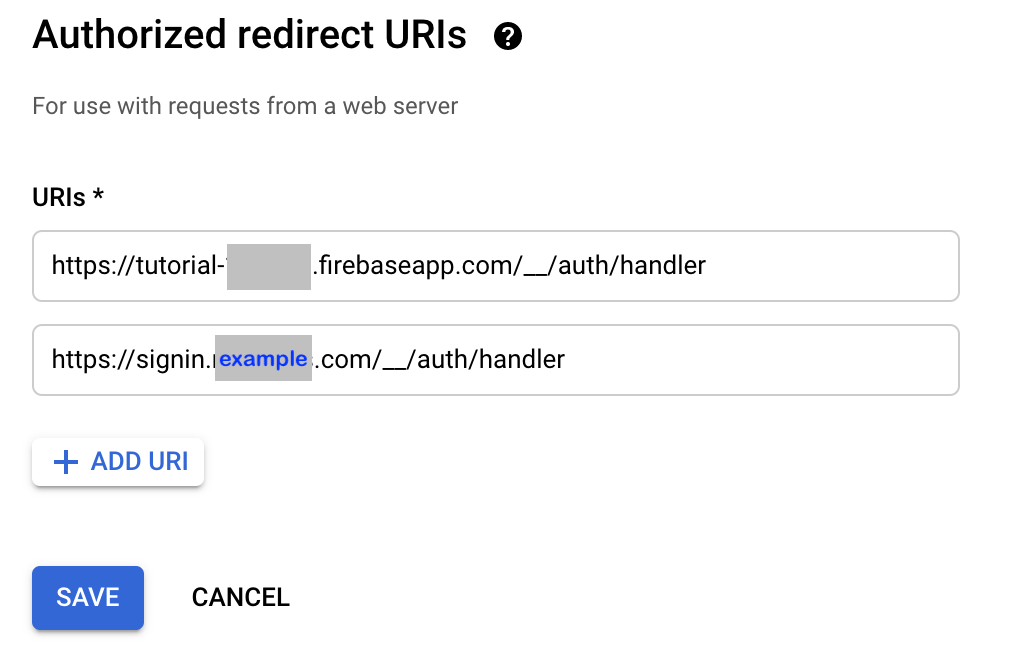
Authorized Redirect URI with Custom Domain - Firebase Configuration on HTML page(s)
Now that everything is setup on the backend, we’ll need to change the Firebase configuration on HTML page(s) that uses Firebase to reflect the changes above. By default the domain use for authorization in Firebase is:
authDomain: “<project-id>.firebaseapp.com”
Change the default value with the custom subdomain value specified in Step 3. above. An example is shown below.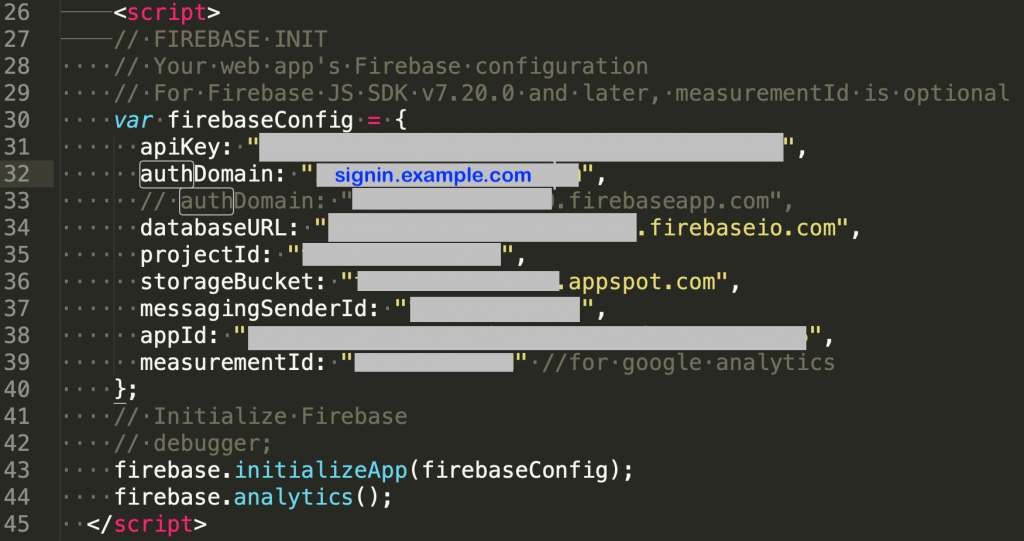
Firebase Custom Domain Configuration
At this point everything should work properly